XDA Basics: How to record the screen on a Mac
Macs are becoming more and more popular amongst desktop users. Whether you’re a student, teacher, or any other office worker, Macs are a great pick for productivity, studies and work alike. And Apple’s Education Discounts only make buying a new Mac more tempting. But you must be wondering, how do I record my new Mac’s screen?
Recording your Mac’s screen isn’t a straightforward process, at least when compared to the simple approach of iOS. You have plenty of options, each tailored for specific needs and usage patterns. If you want to record a video tutorial, the chosen mode is different than that for taking a static screenshot of whatever content you’re viewing, for example. We’ll be exploring all of the options available on macOS to record your screen.
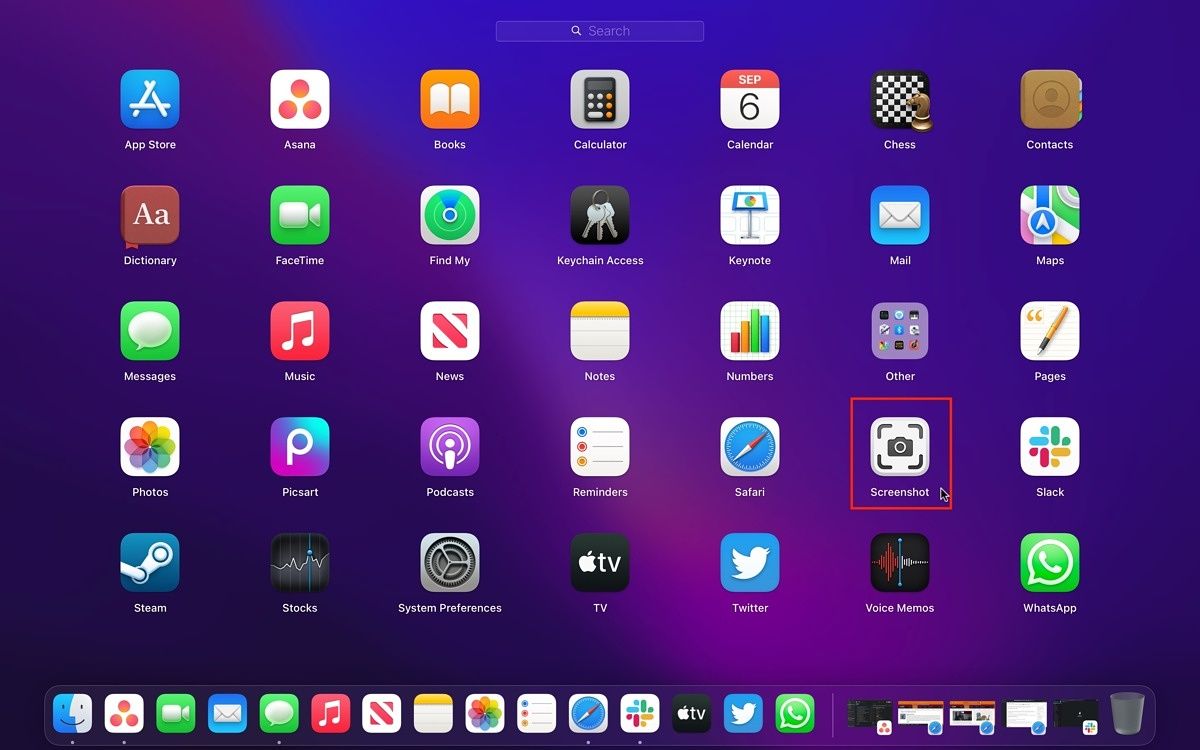
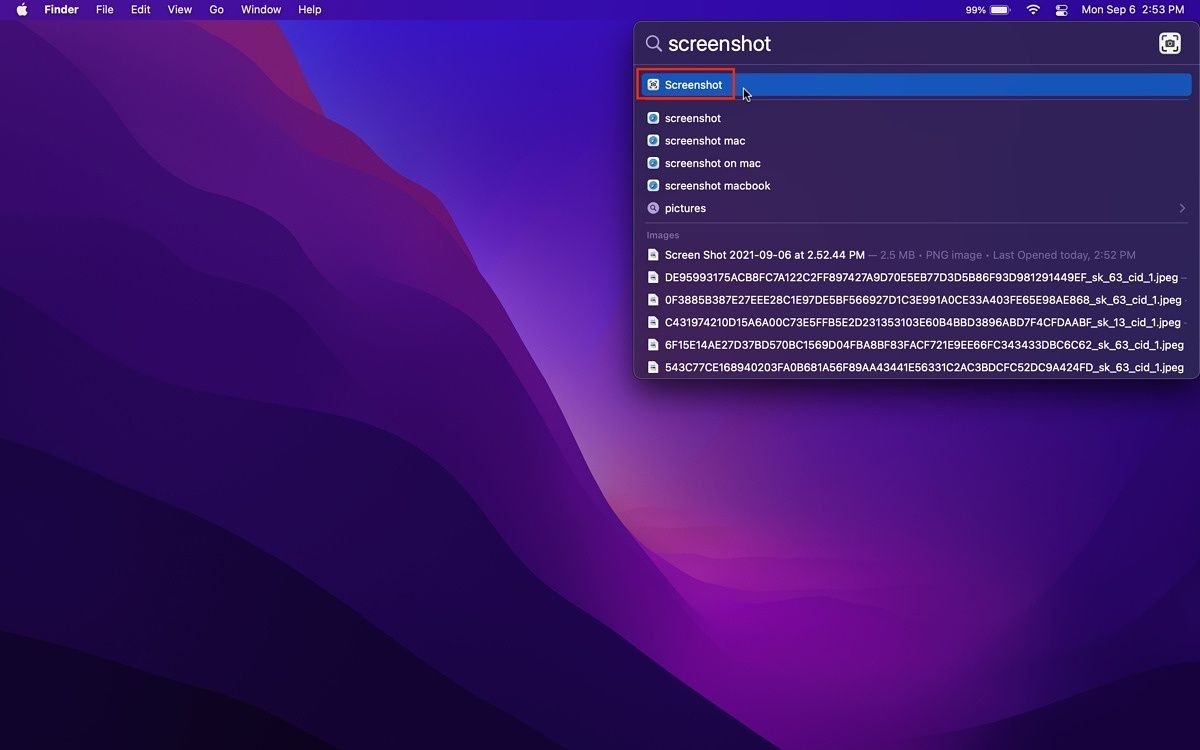
Apple makes it easy enough to choose which mode to go for. They’re all bundled in one location, with brief descriptions of each. To get started, your go-to app is, well, Screenshot. You should be able to find it in Launchpad, among the other first-party, pre-installed apps. Alternatively, you could invoke Spotlight Search by holding the Command button, followed by hitting the Spacebar. Once Spotlight Search appears, type Screenshot, and click on the first result.
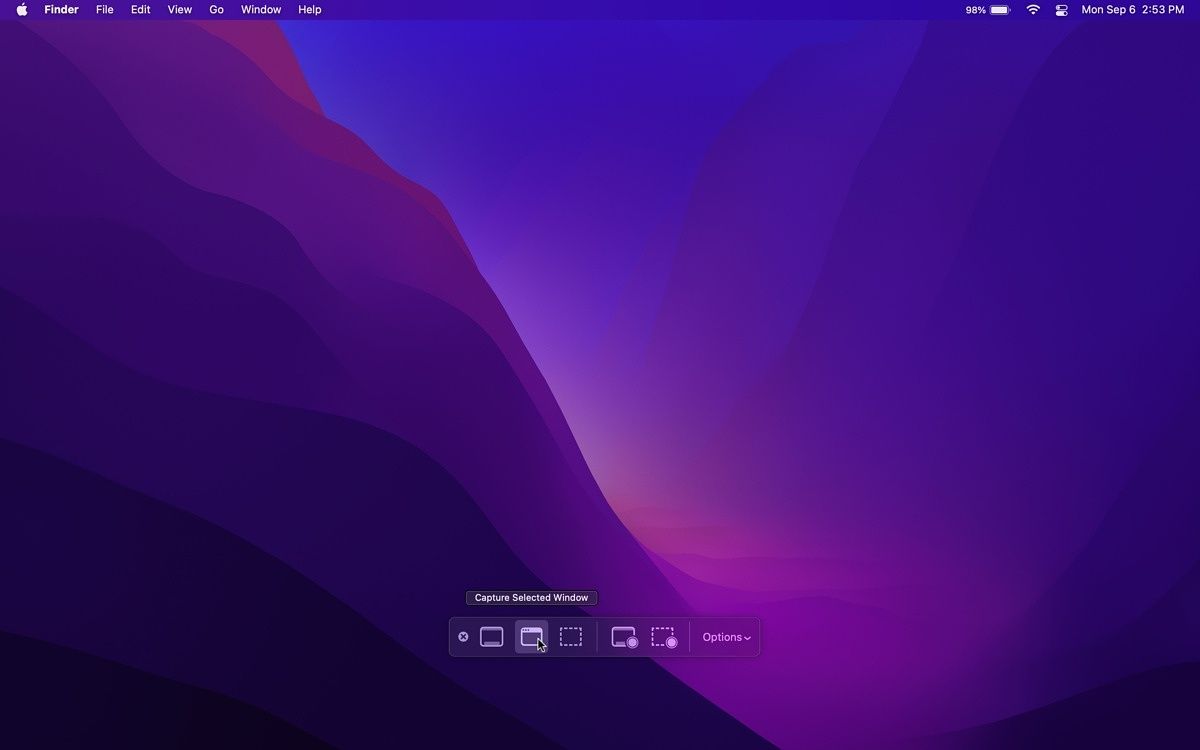
The Screenshot app has a basic UI (user interface). It’s a small, translucent bar at the bottom of your screen with a few buttons representing the modes to choose from. The rest is all transparent, so you can view the contents behind the Screenshot app and decide what/where to record.
Options
Before going through the available modes, it’s a good idea to check the options to choose what works for you best. The options when choosing a Capture (static screenshot) mode differ compared to those for a Record (video) mode.
When choosing a Capture mode

- Save to: This option allows you to choose your favorite screenshot destination. These destinations include the desktop or document folders, copying to the clipboard, sharing it directly to another app (such as Mail or Messages), or another location of your own choosing.
- Timer: This option allows you to set a 5 or 10 second timer before taking the screenshot.
- Other options: Show floating thumbnail, remember last selection (your preferred modes and options), and show mouse pointer.
When choosing a Record mode

- Save to: Similar to that of Capture mode, excluding the save to clipboard option.
- Timer: Similar to that of Capture mode.
- Microphone: Optionally lets you record external audio using your Mac’s built in mics or other connected ones.
- Other options: Similar to that of Capture mode, but it replaces the ‘show mouse pointer’ option with ‘show mouse clicks’.
Modes
Capture mode
There are different options to choose from when capturing a screenshot.

- Capture Entire Screen: This option, as its name suggests, takes a screenshot of the whole Mac screen. This includes the menu bar and dock, if they’re visible when capturing it.
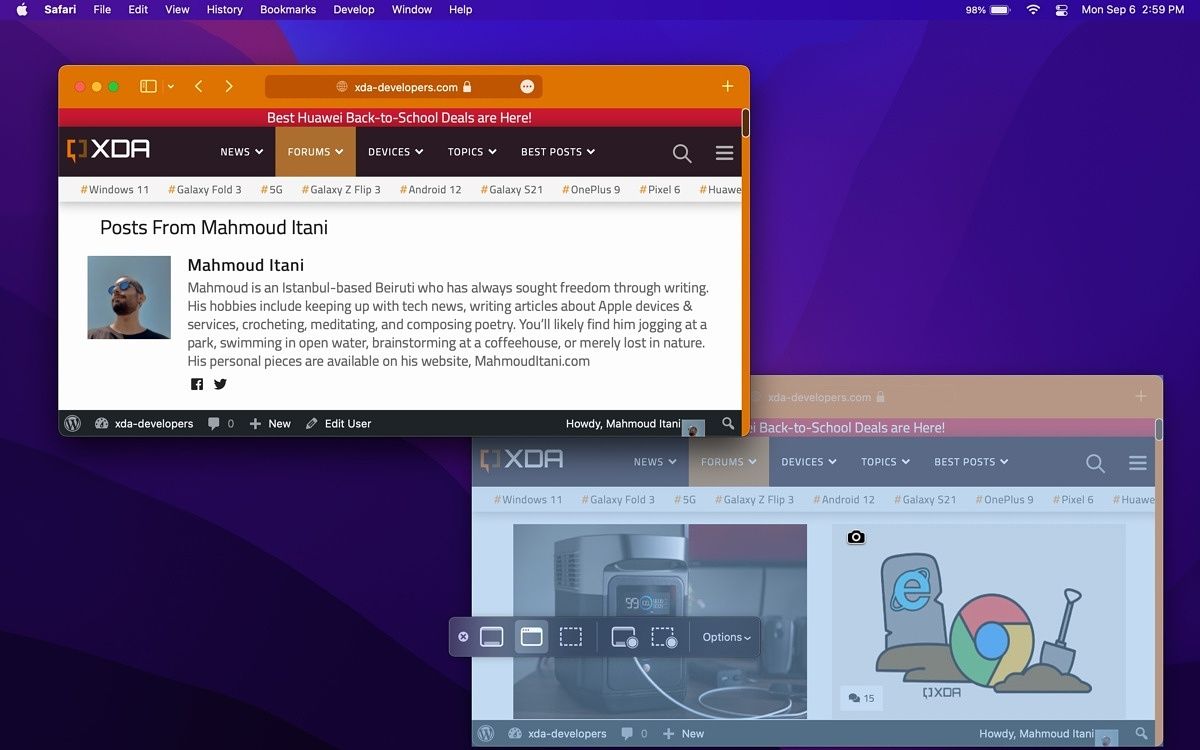
- Capture Selected Window: This option takes a screenshot of an open window of your own choosing. Neither other windows nor the menubar and dock will be visible in the final image.

- Capture Selected Portion: This will bring up a resizable, dotted rectangle, which you can move around the screen. This allows you to choose a specific screen portion, independent of windows, to take a screenshot of.
Record mode
The Record modes are almost identical to those of Capture, except that the Record Selected Window isn’t available.

- Record Entire Screen: This option takes a video recording of the whole Mac screen.

- Record Selected Portion: This option allows you to record a video of the contents displayed inside the dotted rectangle I’ve mentioned above.
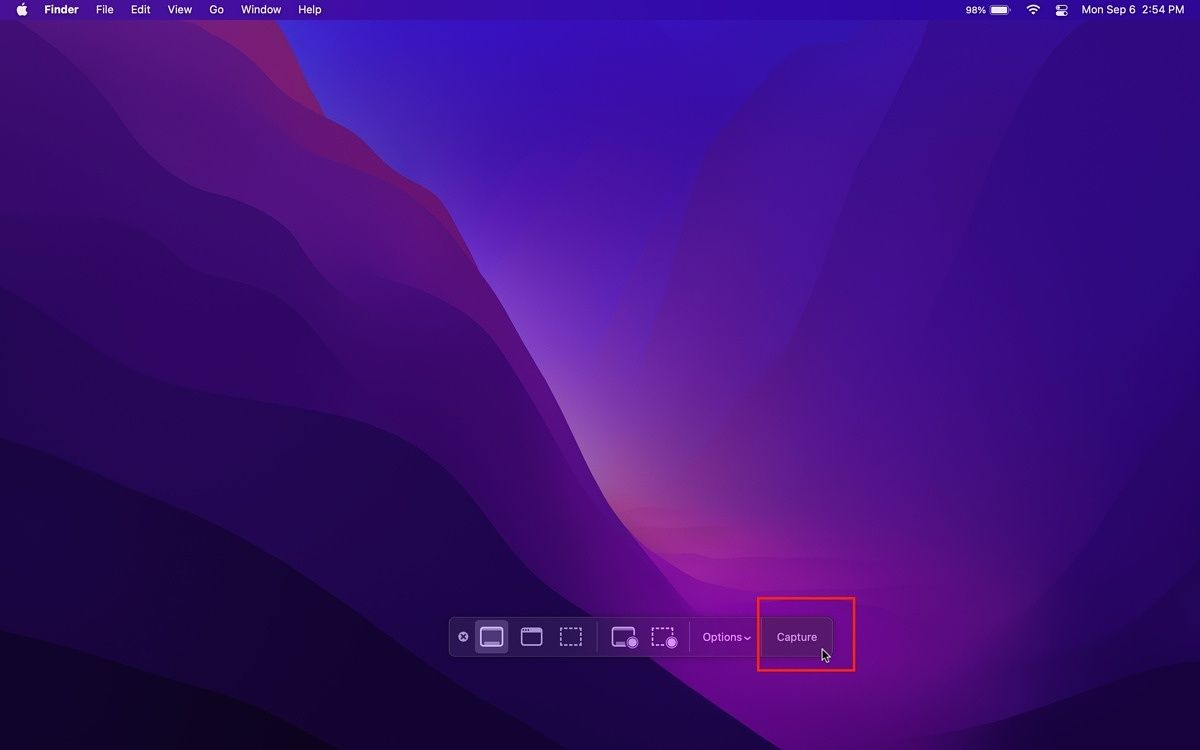
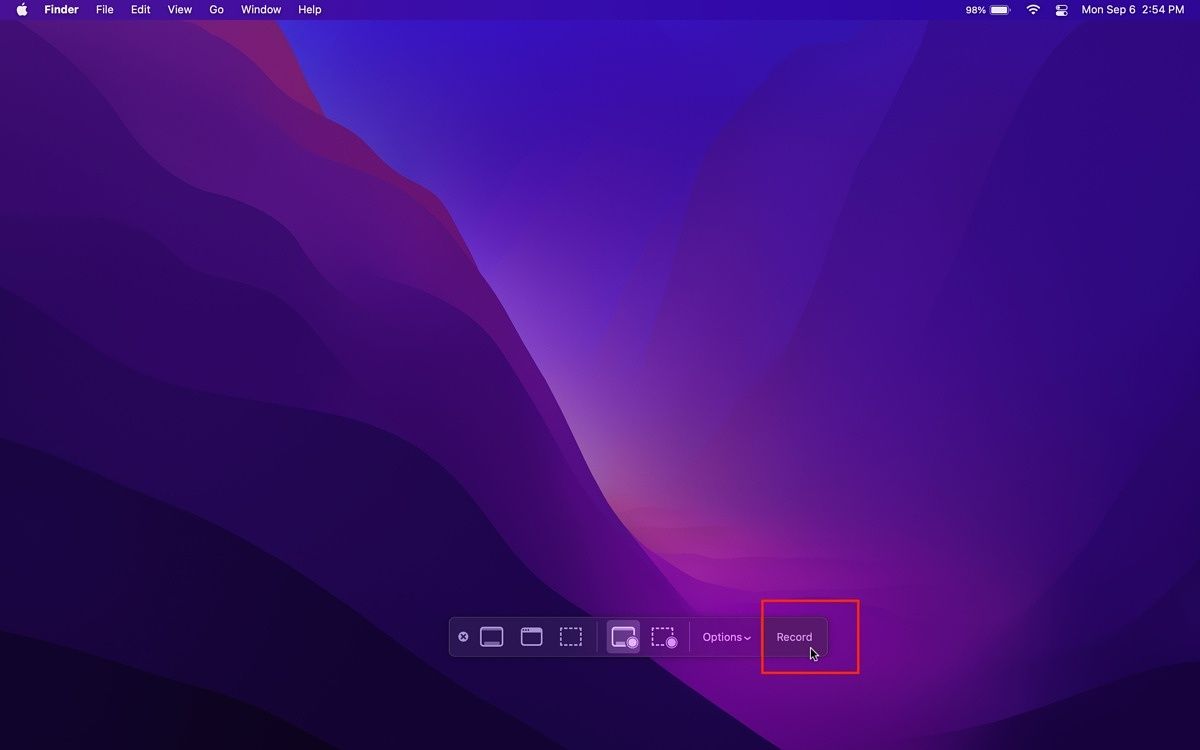
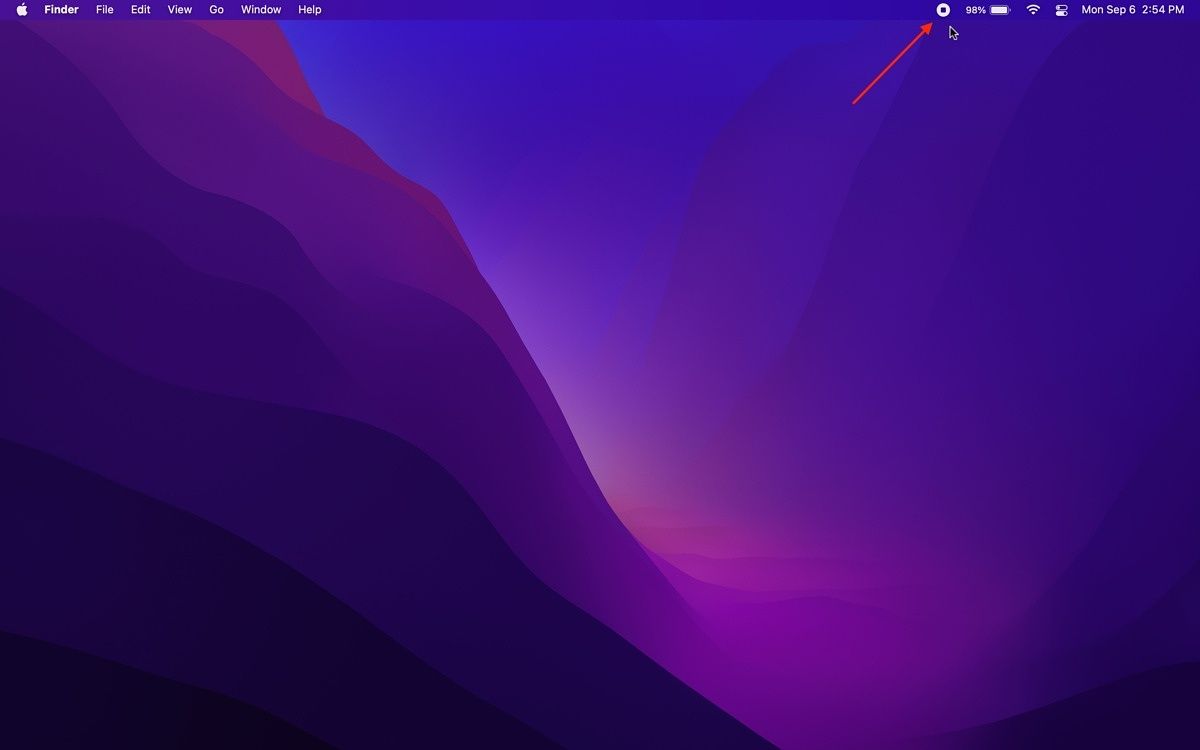
Once you set the options to match your preferences, you’re ready to hit Capture/Record, the very last button on the right of the Screenshot selection bar UI. A screenshot will instantly save to the destination of your own choosing. As for a video recording, a stop button will appear in the menubar. Once you’re done with recording, hit that button to get it saved.
Shortcuts that make life easier
- Take a screenshot: Shift + Command + 3
- Capture a portion of the screen: Shift + Command + 4
- Capture a window or menu: Shift + Command + 4 + Spacebar
- Launch the Screenshot app: Shift + Command + 5
You’re all set! Now you can record your Mac’s screen, for whichever purpose, with ease. With Apple’s various options and modes in macOS, there’s a combination for everyone and every possible use case.
The post XDA Basics: How to record the screen on a Mac appeared first on xda-developers.
from xda-developers https://ift.tt/3BOI1mr
via IFTTT


Aucun commentaire: